A Step By Step Guide To The Roof Repair Process With Modern BYLT Roofing
From Roof Inspection To New Roof
Having roof damage, surviving a large storm, needing roof repair, spotting roof leaks, or just knowing your roof is nearing the end of its life can all feel daunting. Your roof is protecting your home, your family, your belongings, and everything you've built, your legacy really. BYLT stands for Building Your Legacy Together, and we mean every word. We're here to walk you through the entire roofing process. Caring for your home and ensuring you and your family have a safe roof over your heads is at the heart of Modern BYLT.
The Instant Estimate
Using satellite imagery to measure your roof we can provide an instant estimate for an entire roof replacement right here! This gives our customers a great idea of the cost of an entire replacement. Once you fill out your estimate we will reach out to you to set up a complimentary inspection.
Your Complimentary Roof Inspection
A complimentary roof inspection is a free roof assessment offered by our team. We use this time to evaluate the condition of your roof. We check for damage, identify potential issues, and determine the need for repairs or replacement. Below is an outline of what our complimentary roof inspection process usually involves:
1. Initial Consultation
After you complete your free instant estimate we will contact you to schedule a full complimentary roof inspection. We'll also gather some information from you such as the roof's age and recent weather events. We also want to know about any specific issues or concerns such as leaks, missing shingles, or water stains.
2. Exterior Roof Inspection
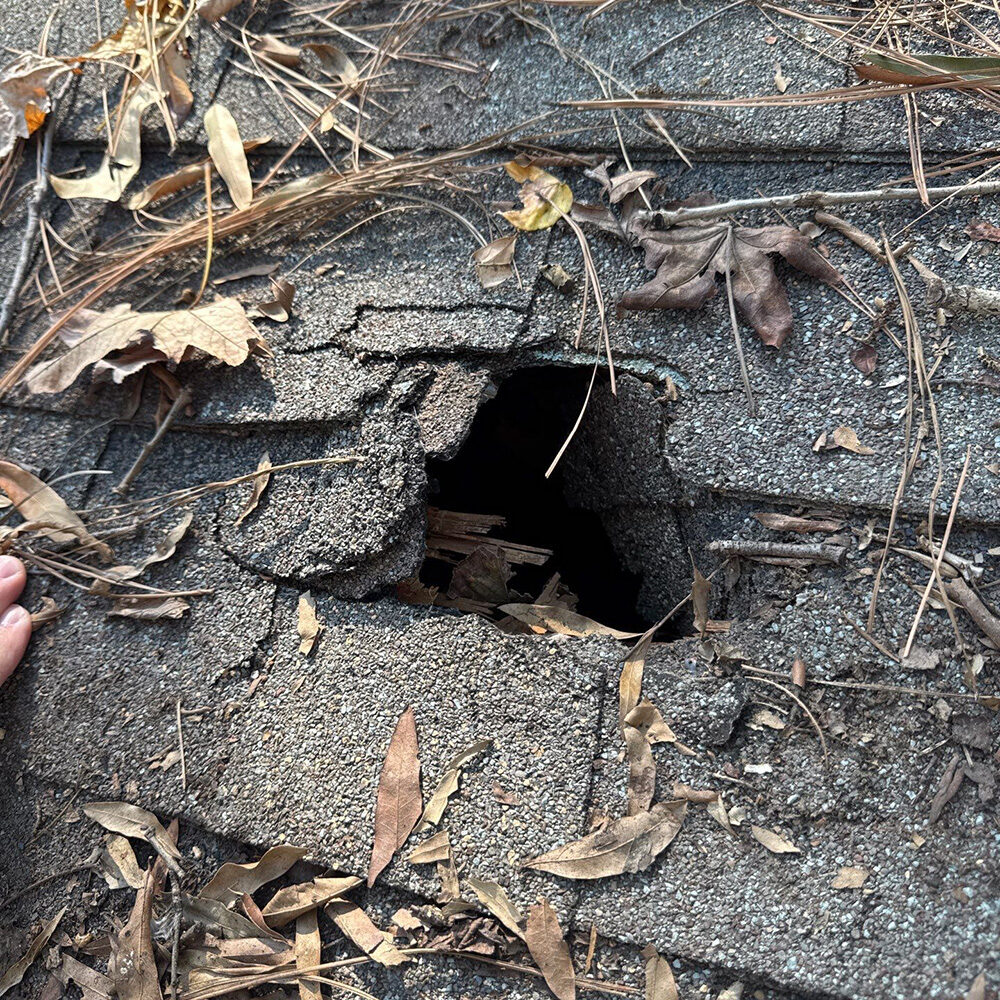
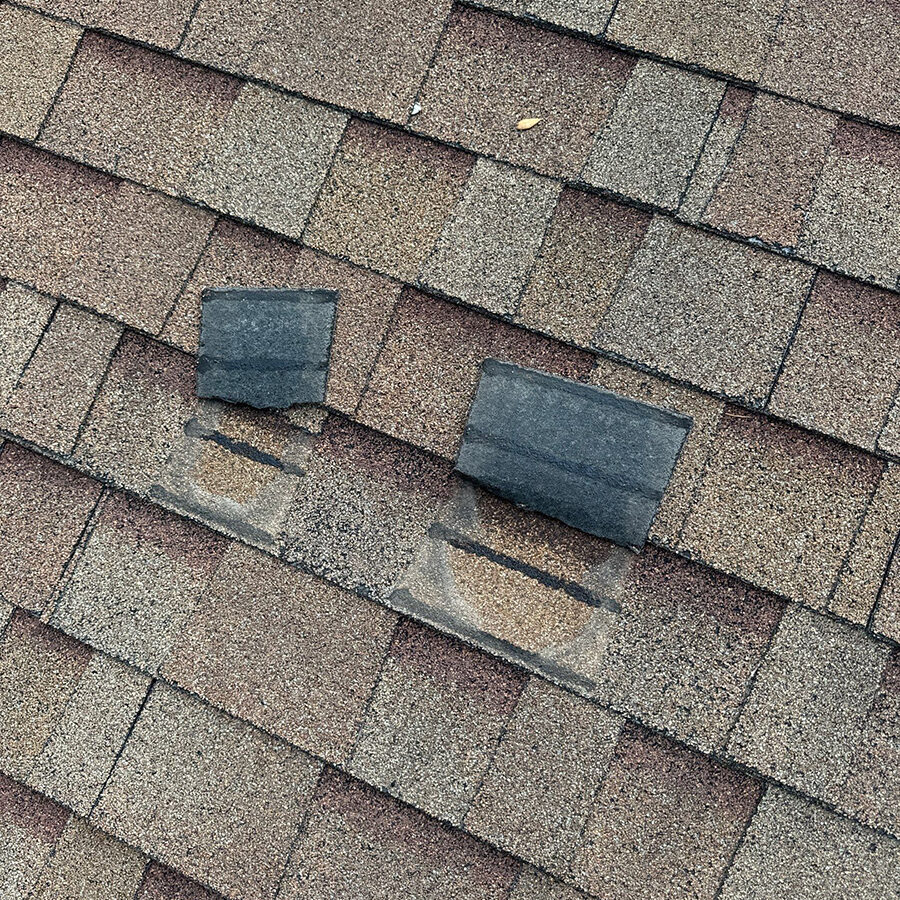
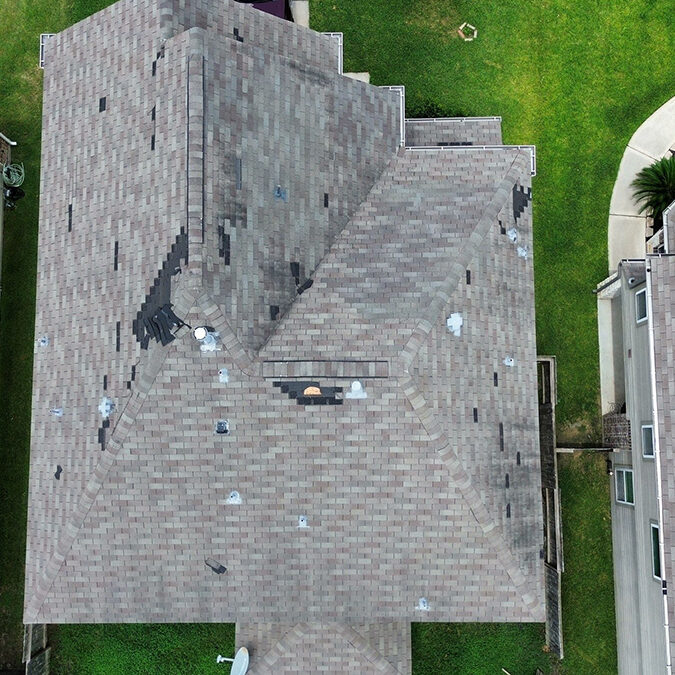
- To start we do a visual inspection by walking the roof and using our drone. We examine the roof's surface for signs of wear and damage including missing, curled, or cracked shingles, granule loss, and areas with visible moss or algae growth.
- We check flashing and sealant around chimneys, vents, and skylights to ensure it’s secure and free of gaps, which could cause leaks.
- Your inspector will look for blockages or damage to vents, gutters, and downspouts, ensuring that water flows away from the roof and foundation as it should.
- We'll also look for signs of structural damage. This could include sagging uneven areas, or damaged roof decking
3. Interior Inspection (If Applicable)
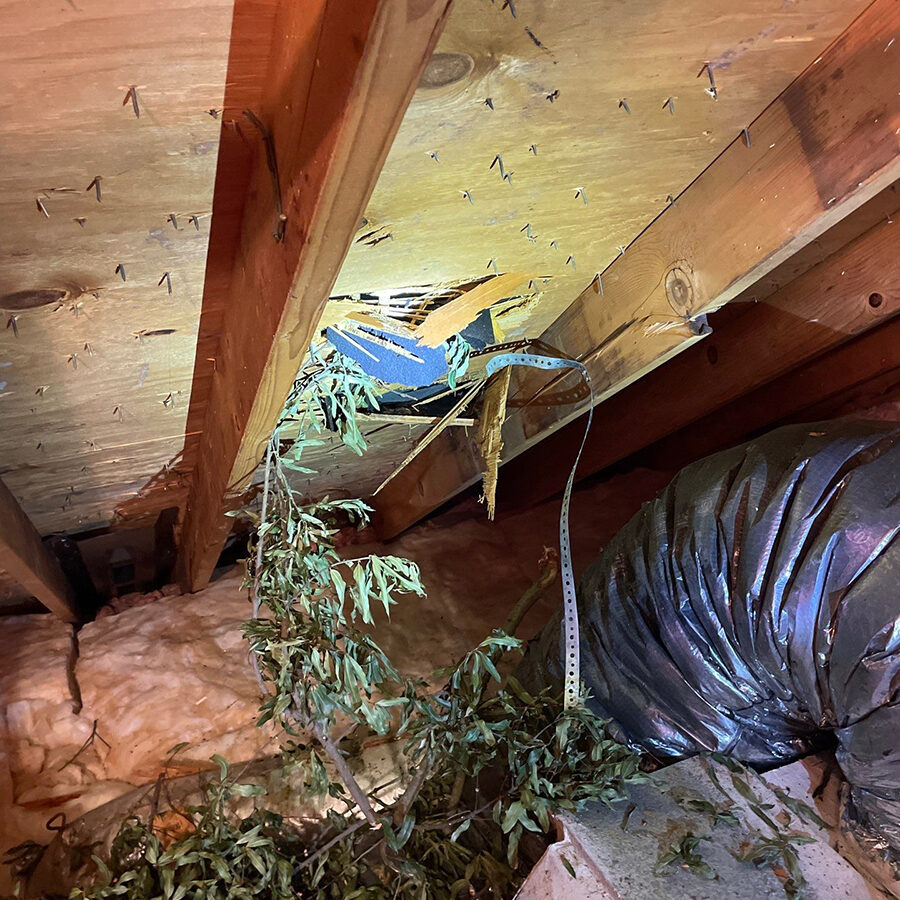
If accessible our roofing specialist checks the attic for signs of leaks, moisture, or mold. This is especially important as attic moisture can indicate poor ventilation or hidden roof leaks. We'll also inspect the insulation and ventilation in your attic. We want to ensure they meet current standards, as they play a key role in maintaining the roof’s longevity and energy efficiency.
4. Storm Damage and Hail Assessment
For areas affected by recent storms, our specialists look specifically for storm-related damage like hail dents, wind-lifted shingles, and other signs of impact.
We'll document all storm damage for insurance claims, including taking detailed photographs and noting affected areas.
5. Roof Condition Report
During the entire enspection our roofing specialist takes photos of any damage or areas of concern and makes notes that will help explain the issues found.
Your specialist will provide a summary of findings, often with a condition rating (e.g., good, fair, poor). This report will help you understand the roof’s health and make informed decisions on next steps.
6. Recommendation and Next Steps
If issues are identified, our roofing specialist will provide you with recommendations, whether it's repairs, replacement, or maintenance suggestions. Our best day is when we can give a homeowner a clean bill of health.
We will provide a comprehensive project proposal outlining all issues and costs for repair. If the inspection does reveal issues that may be covered by insurance (e.g., storm damage), this proposal can help facilitate the insurance claim process.
Roofing Payment Options
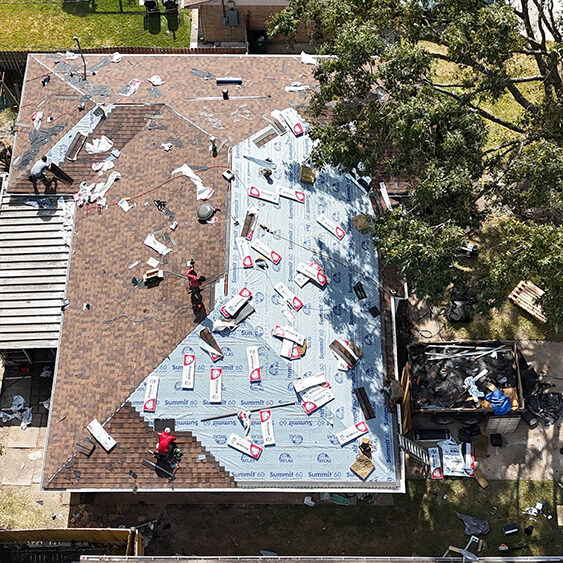
Roof repair and replacement isn't the most glamorous home update, but without it, your entire home could be at risk. At Modern BYLT Roofing we're here to help you through every step of the process. Dealing with insurance can be confusing and we're happy to answer any questions you or your insurance adjuster may have. In the case where a roof is not covered by insurance we offer financing and self pay options.
If You're Using Insurance...
Get Your Complimentary Roof Inspection from Modern BYLT
The first step is to have us come do a complimentary inspection on your roof. After your inspection, we'll provide you with a detailed proposal outlining our findings and cost to repair or replace your roof.
If You Need Financing..
We've partnered with Enhancify.com to offer financing to our customers.
If You're Self Paying...
If you choose to self pay we require 50% down on the day you sign the contract. The remaining 50% is due upon completion of your roof replacement or repairs.
Discoverables
Surprises aren't always good. We prepare for these with what we call discoverables. Discoverables are unforeseen issues or defects that become apparent only after work has started on a roof project, particularly during the tear-off stages. These issues aren’t visible during the initial inspection because they’re hidden under the layers of the roof material.
Discoverables often lead to increased project costs and timelines, as additional labor and materials are usually needed to address these issues. Your contract specifies how discoverables will be handled, with the costs and scope agreed upon once they’re uncovered. You can find some common discoverables below.
Damaged Decking: The decking (wood sheathing below the shingles) might show signs of rot, water damage, or other deterioration that wasn’t visible initially.
Structural Issues: Underlying structural problems in the roof framing, such as cracked rafters or sagging trusses affecting stability and safety.
Mold or Mildew: Mold or mildew might be present in the roofing layers or attic space, especially in roofs with poor ventilation or past leaks.
Improper Previous Repairs: This might include poor flashing, incorrect installation techniques, or low-quality materials that needs to be redone.
Pest Damage: Evidence of pests, such as termites, carpenter ants, or rodents, can sometimes be found in the roof’s wooden structures.
Poor Insulation or Ventilation: Inadequate attic insulation or poor ventilation might be uncovered during a roofing project.
Hidden Leaks: Water stains, wood rot, or rusted nails can reveal past leaks that weren’t initially evident.
Roof Installation Day
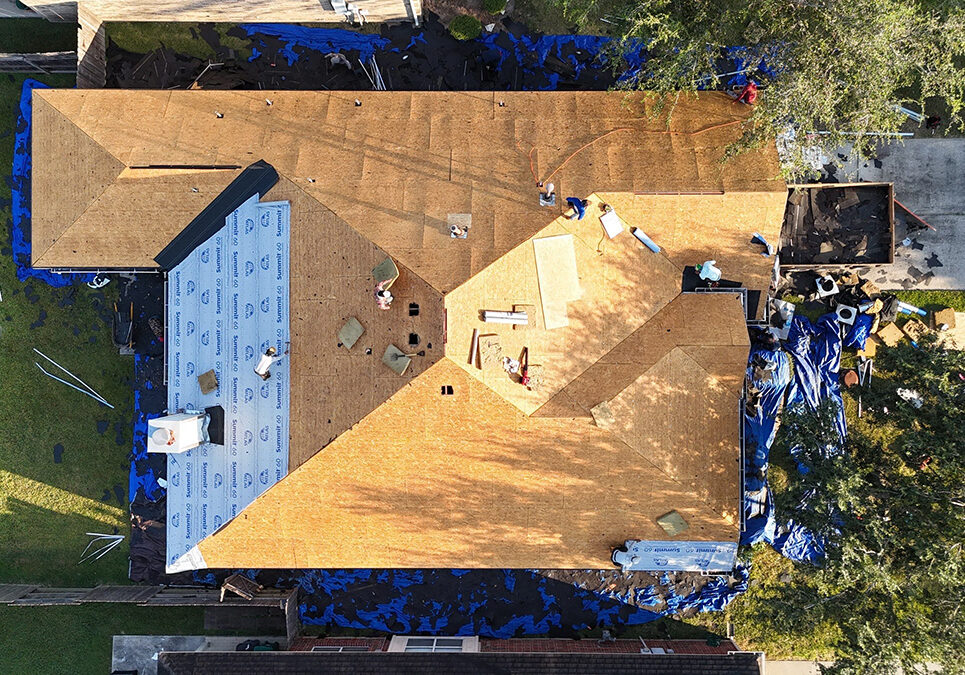
Your roofing materials will be dropped off the day before install. On the day of install, you don't have to stick around. It can be loud inside the house so we provide a link where you can review live updated photos of your job in progress. Every roof is different with unique challenges and repairs. However, you can learn about our overall roofing process below.
1. Protecting Your Home
We'll typically arrive early in the morning. We begin the job by first protecting the rest of the home. We will strategically position tarps around the house perimeter to safeguard landscaping, cover the pool, shield the AC unit, and protect personal belongings.
2. Roof Removal
Next we'll remove the current roof system down to the decking for a thorough inspection.
3. Decking Inspection
This is when we'll find any lingering discoverables. If anything is outside of the scope of the contract we will reach out to you to confirm our next steps.
4. Structural & Decking Repairs
Next we'll replace any deteriorated decking (up to 3 sheets included in the base price, with additional sheets at $75 each).
5. Flashing Areas
During this step we conduct a comprehensive examination of all flashing areas, including headwall, sidewall, step, counter, and chimney. We'll replace any compromised flashing, construct a chimney cricket if necessary, remove all pipe jacks and associated components, and apply water and ice shields in valleys and flashing locations. We'll also mount a 2" drip edge to latch the roof color.
6. Underlayment
Next we lay synthetic underlayment with button cap nails at approximately 18" intervals.
7. Shingles
The shingle process begins with affixing starter shingles along the roofing system perimeter. We'll then install laminated shingles with six nails per shingle following a 1-2-2-1 nail pattern.
8. Final Steps
Once shingles are complete we'll intall new pipe jacks, insure proper sealing, remove and reposition exhaust caps, sealing and painting to match the roof color. We'll also implement continuous ridge vent installation and fit hip & ridge caps to match the field shingles' color.
9. Cleanup & Walk Through
After roof installation is complete we perform a thorough property cleanup and dispose of waste, including gutter clearance, rolling of magnet for nails, and other debris. When we're done, we'll do a final walkthrough with you to make sure you're completely satisfied with the job.
Warranty & Maintenance
Limited Lifetime Warranty
Your shingles come with a limited lifetime warranty from the manufacturer, transferable with a simple phone call.
5 Year Workmanship Warranty
Your installation comes with a 5-year workmanship (labor) warranty, also transferable with a phone call.
2 Year Maintenance Inspection
Included with your installation is a 2 year maintenance inspection, scheduled every two years post-installation.

READY TO GET STARTED, CALL US 346.477.1901

